
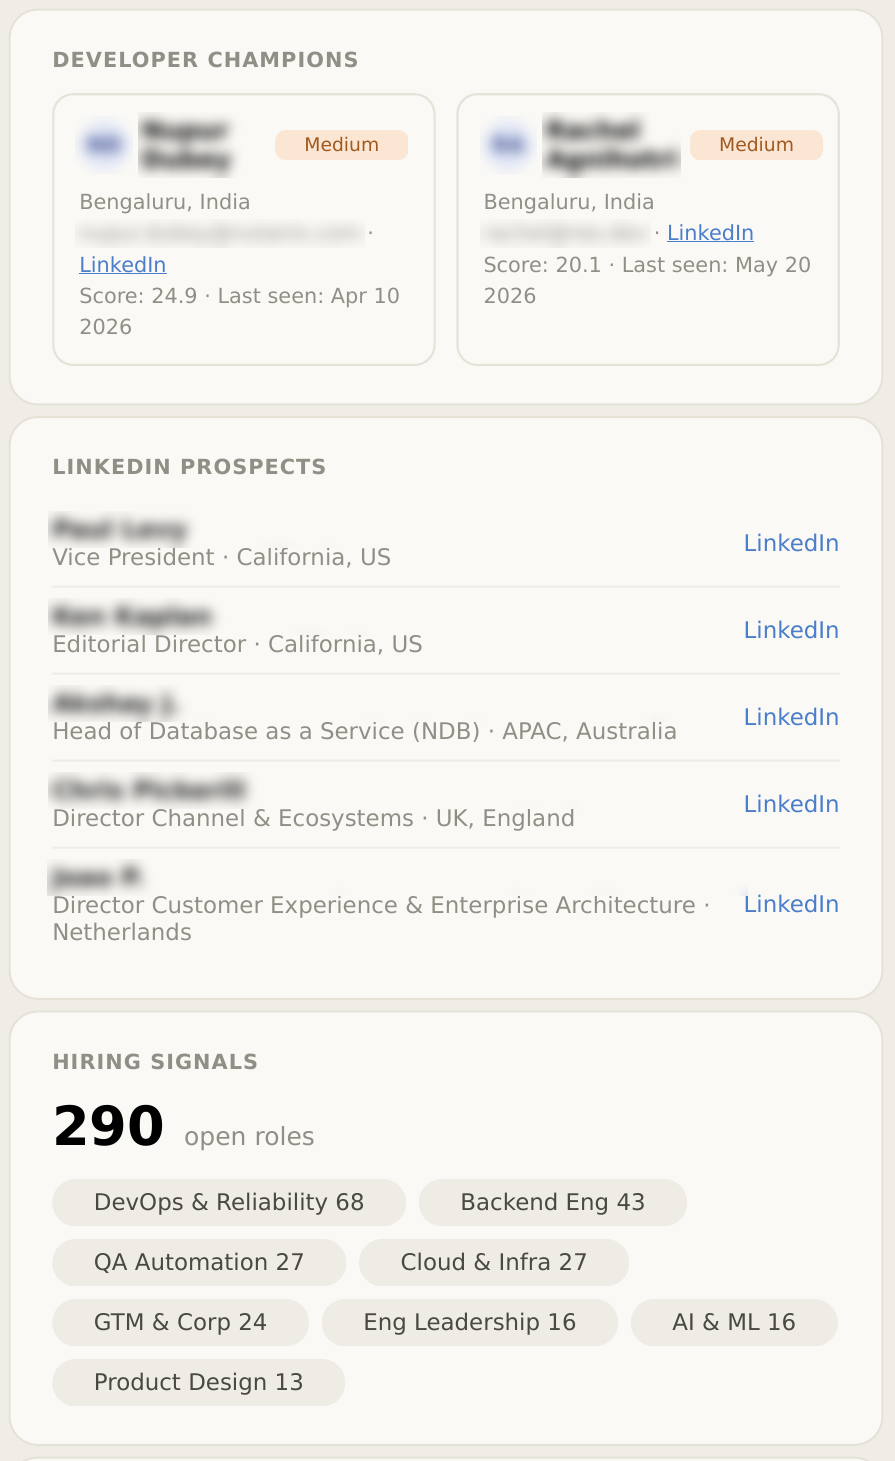
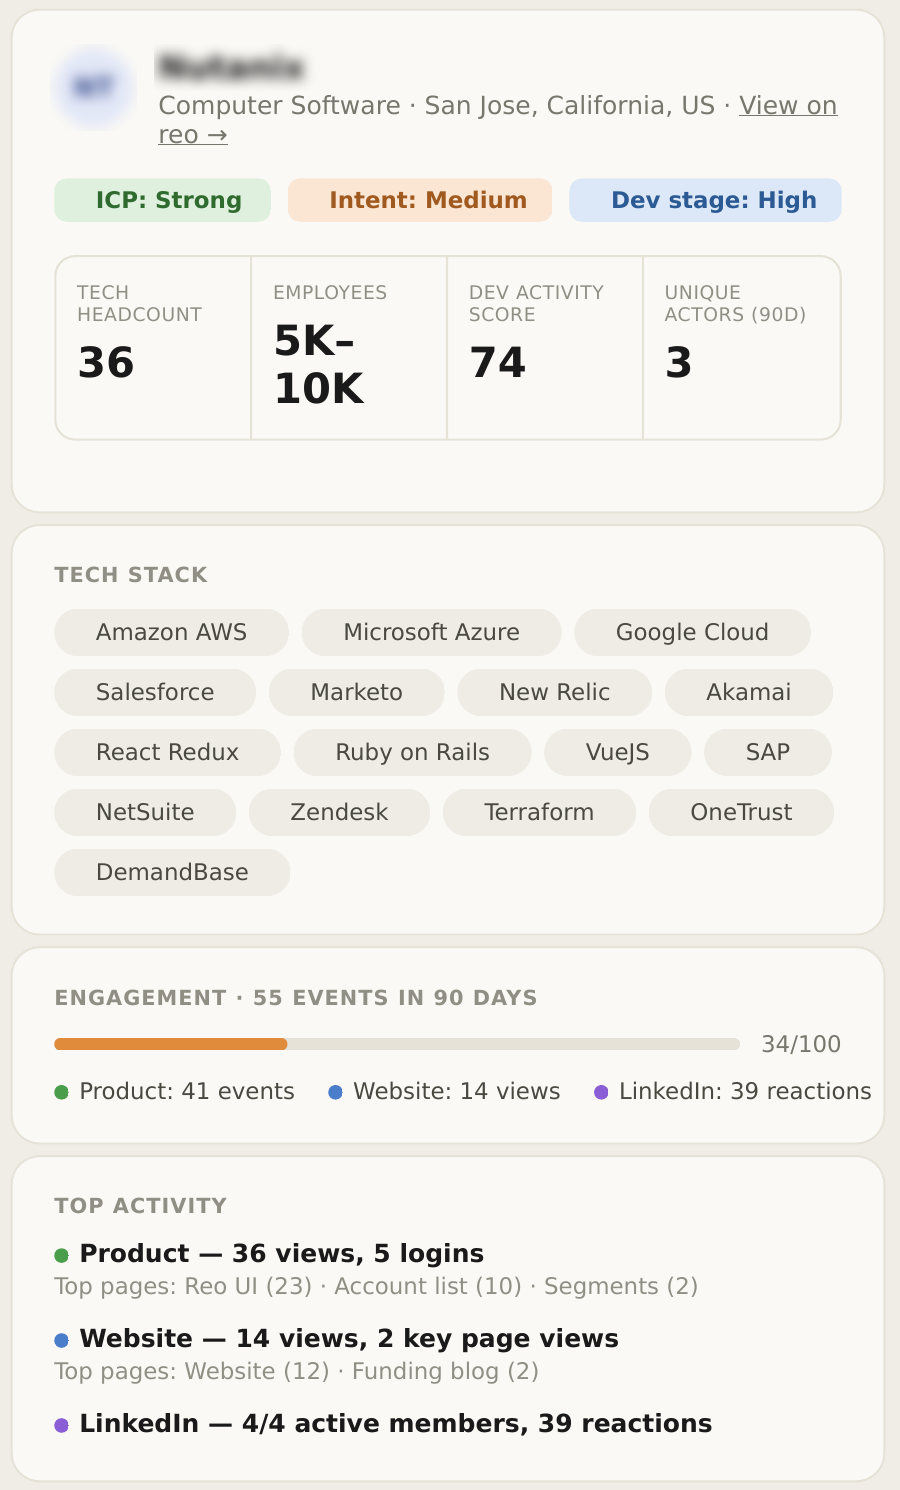
Claude, now backed by your Reo data
Every response reflects what's actually happening in your accounts, not just public information.
Five minutes, start to finish
Install the connector once. Every conversation from then on can pull from your live Reo workspace.
- 01Claude desktop app
- 02An active Reo.Dev account
- 03Data-out API + Product API enabled
- 04Logged out of Reo.Dev
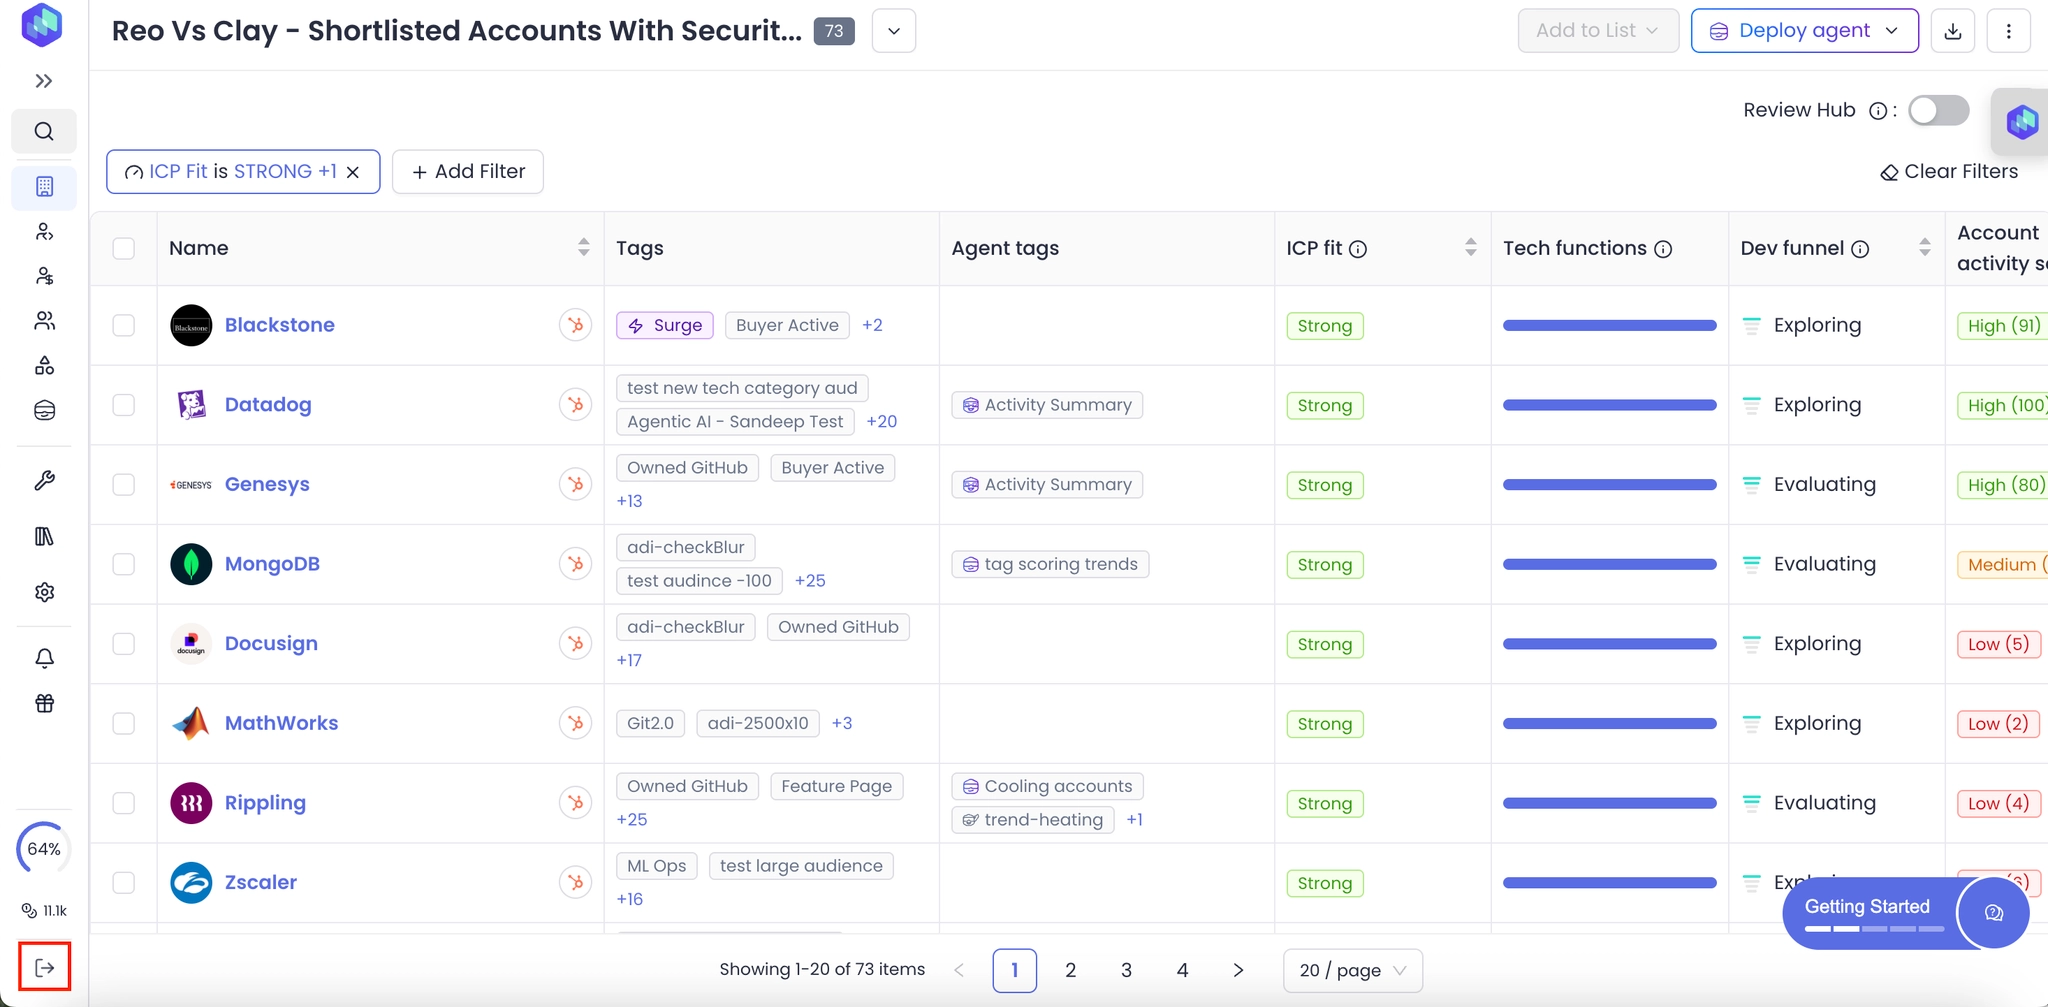
- 1
Log out of your Reo.Dev account.
- 2
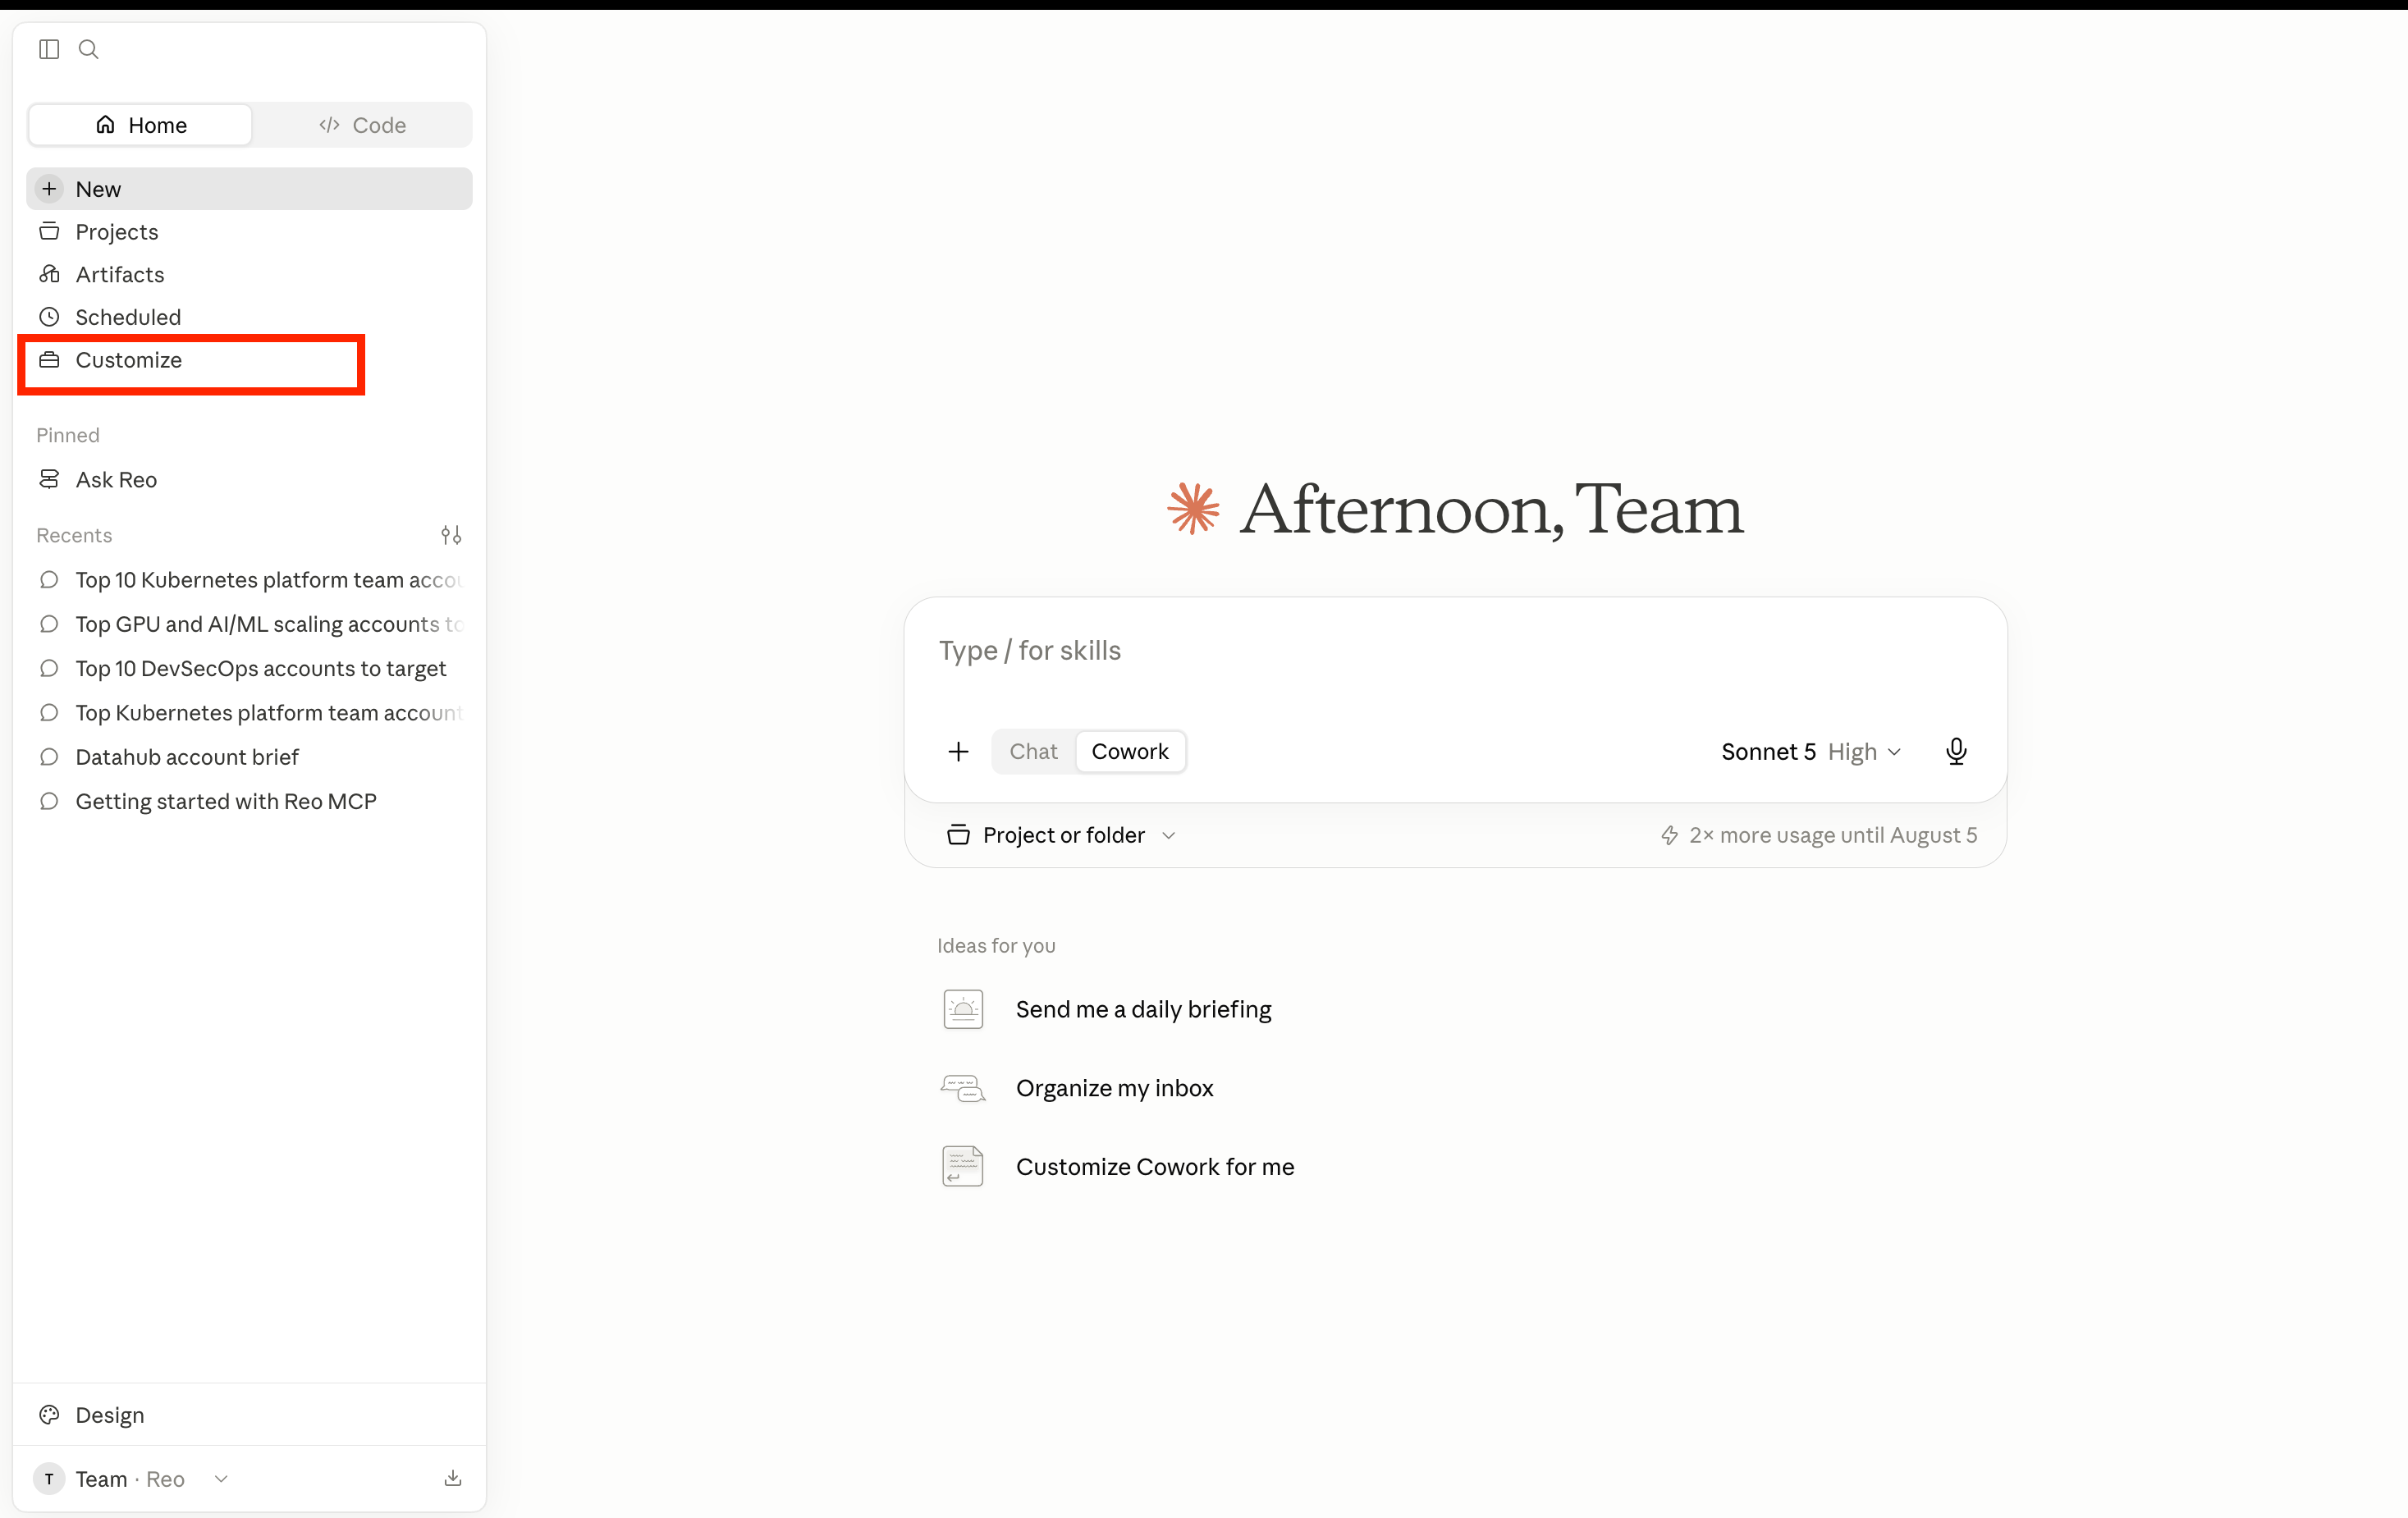
Open the Claude desktop app. From the left navigation menu, select Customize.
- 3
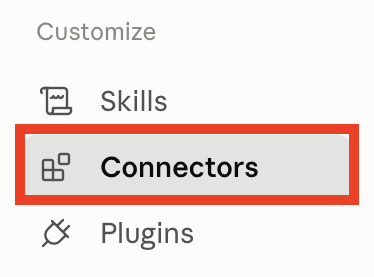
A pop-up modal opens. Under Customize, select Connectors.
- 4
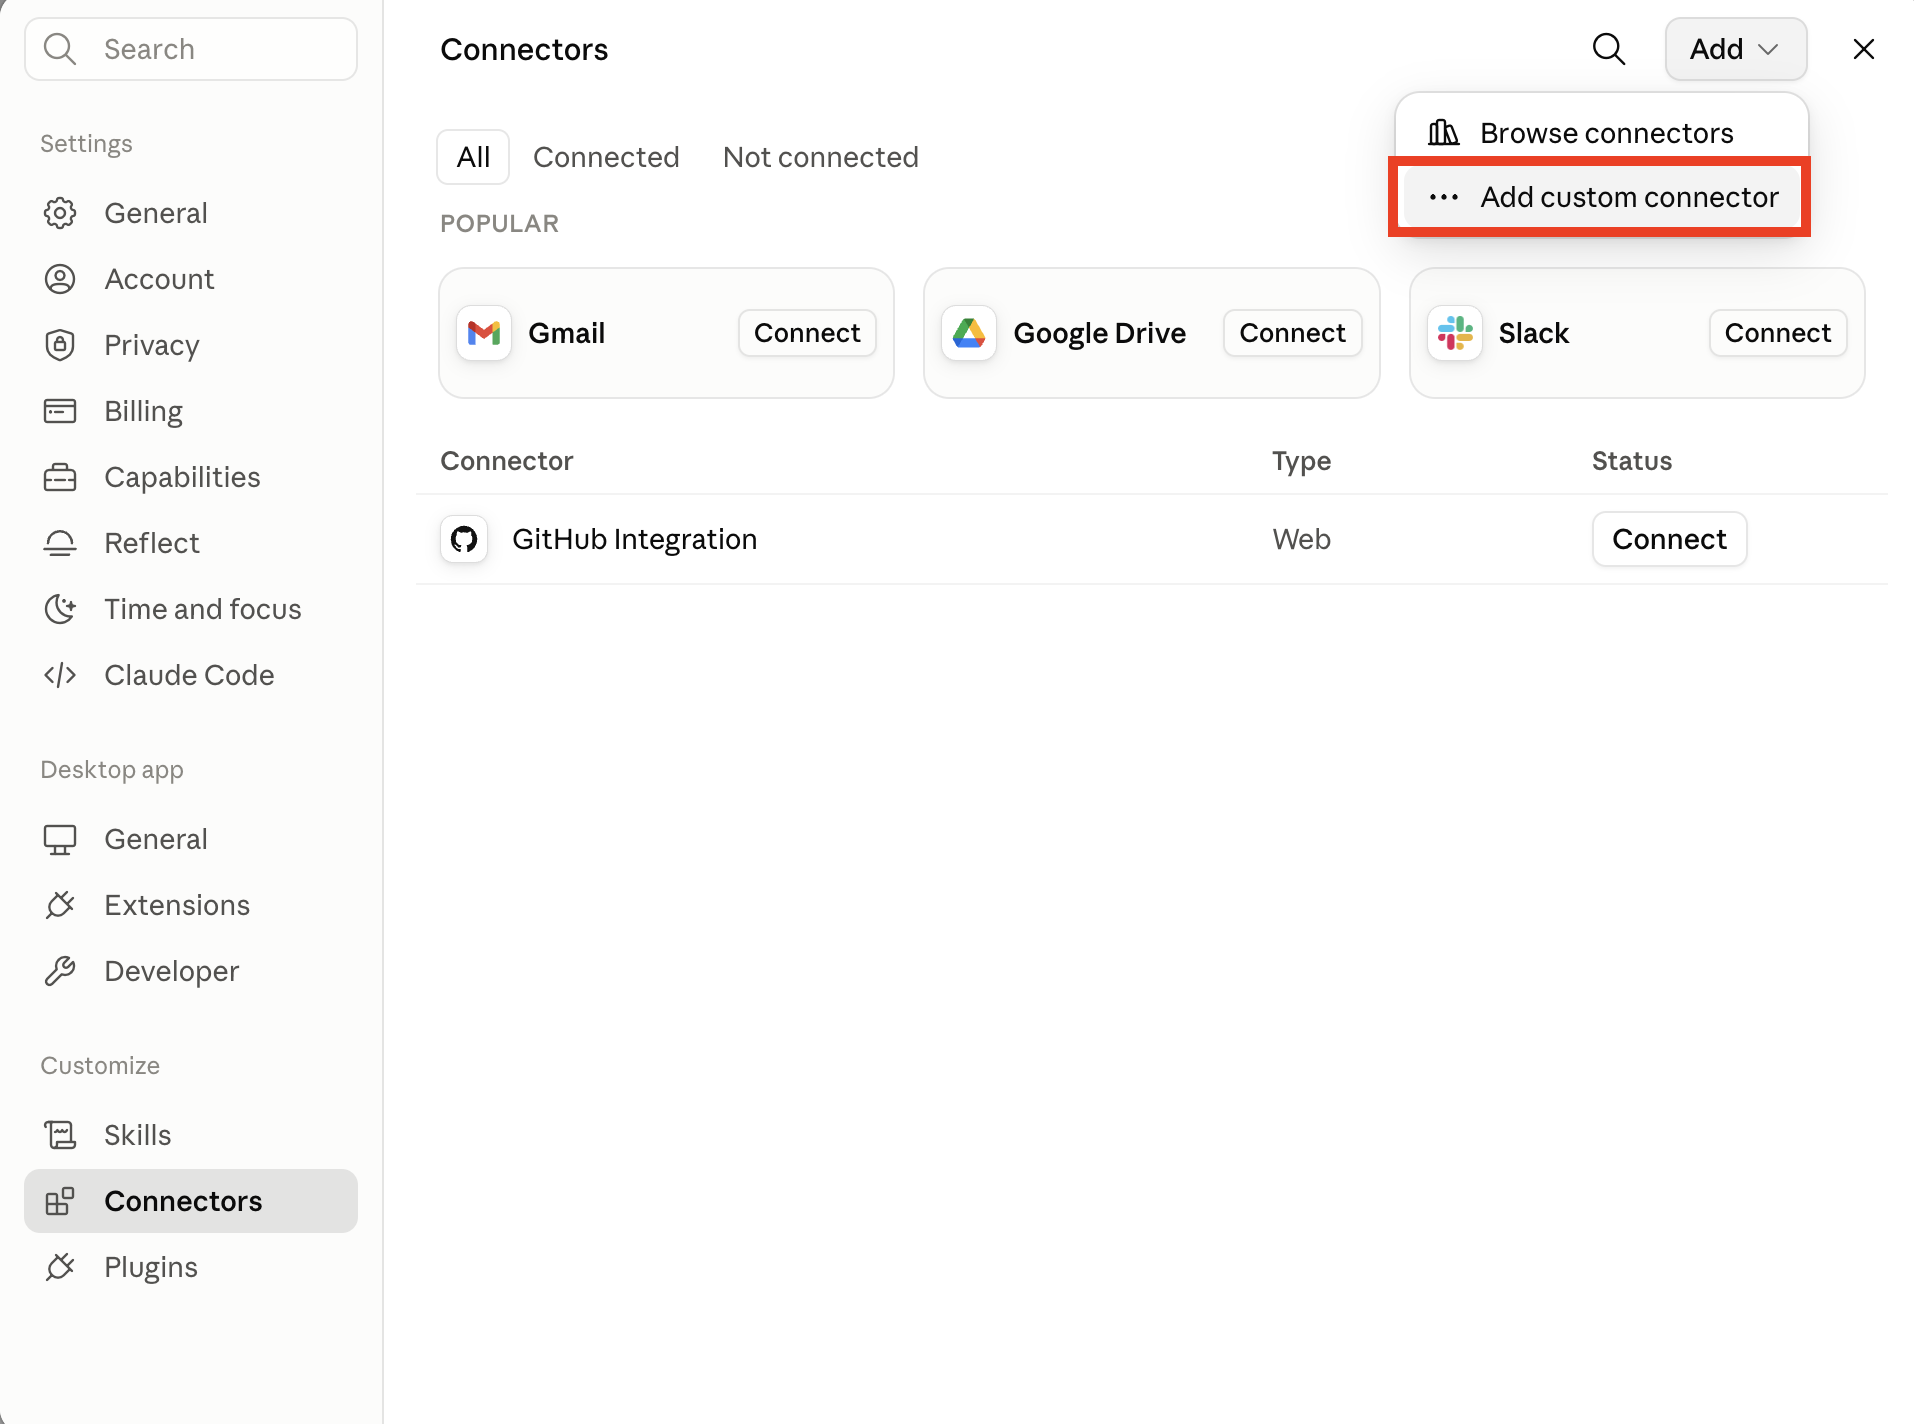
From the top-right corner, click Add > Add custom connector.
- 5
Give it a name (example — Reo MCP) and enter the following remote URL
https://mcp.reo.dev/mcp
Then, click on Add.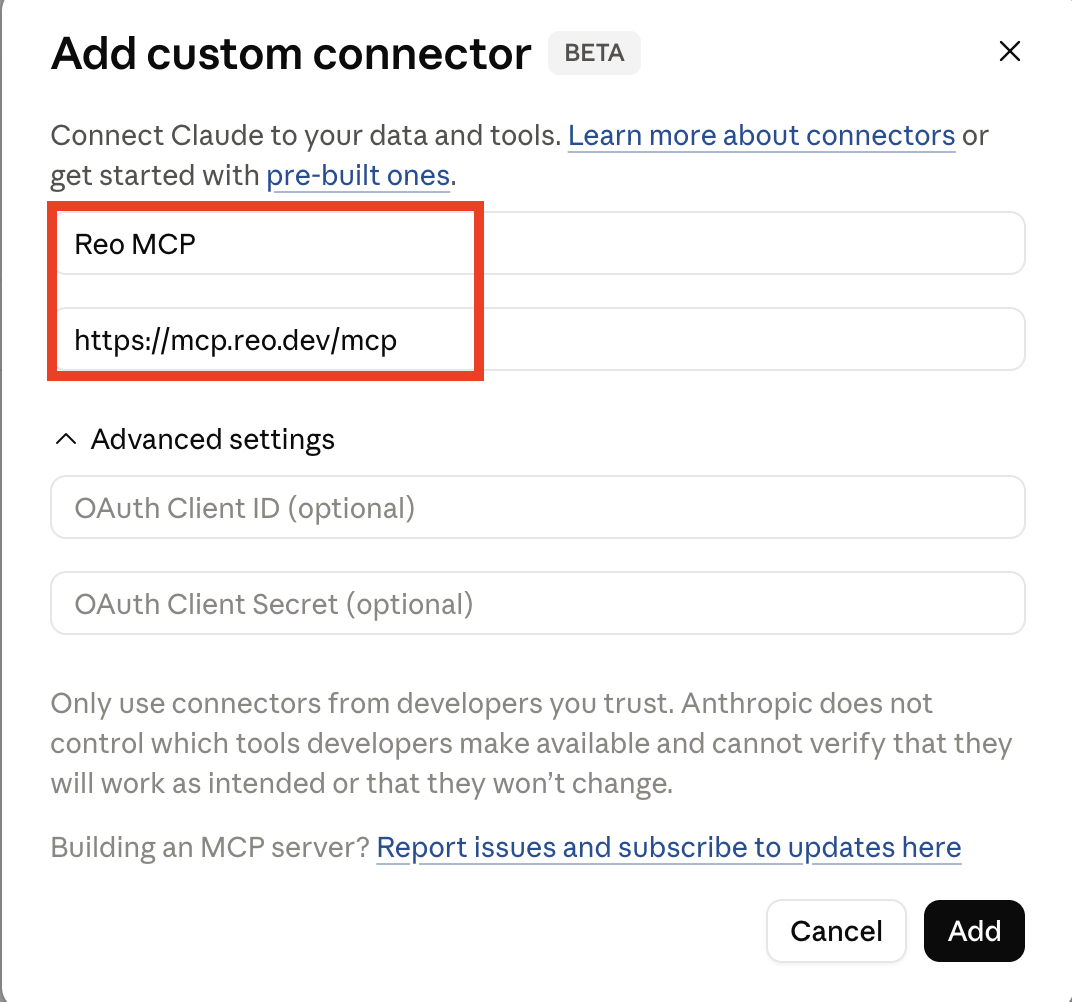
- 6
Click on Connect. You'll get redirected to the Reo.Dev web app. Log in to your Reo account to complete the setup.
Note: To complete this step, ensure that you're logged out of Reo.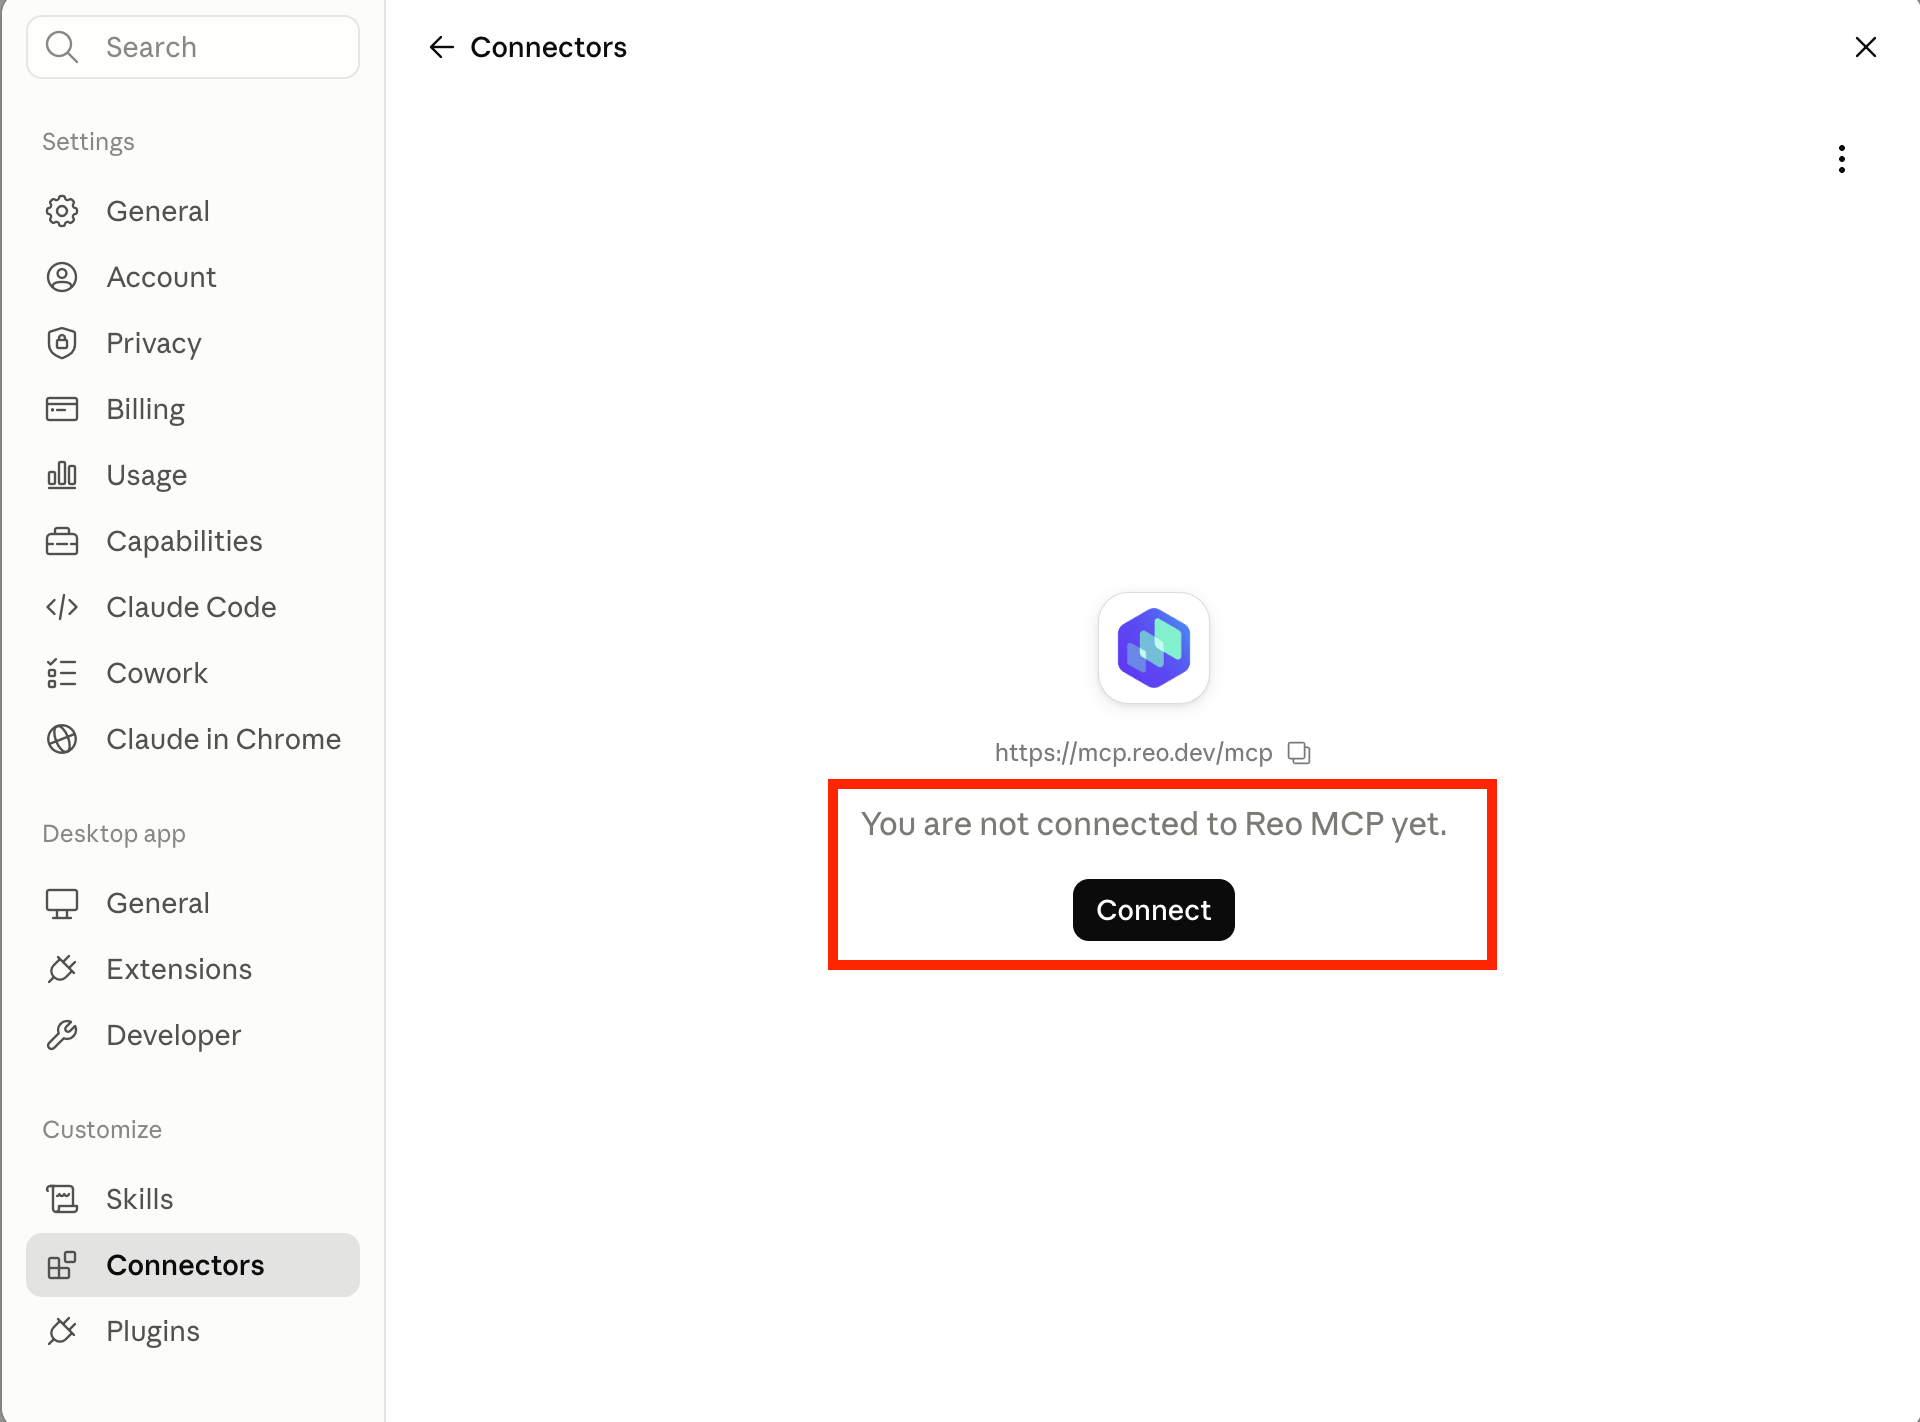
- 7
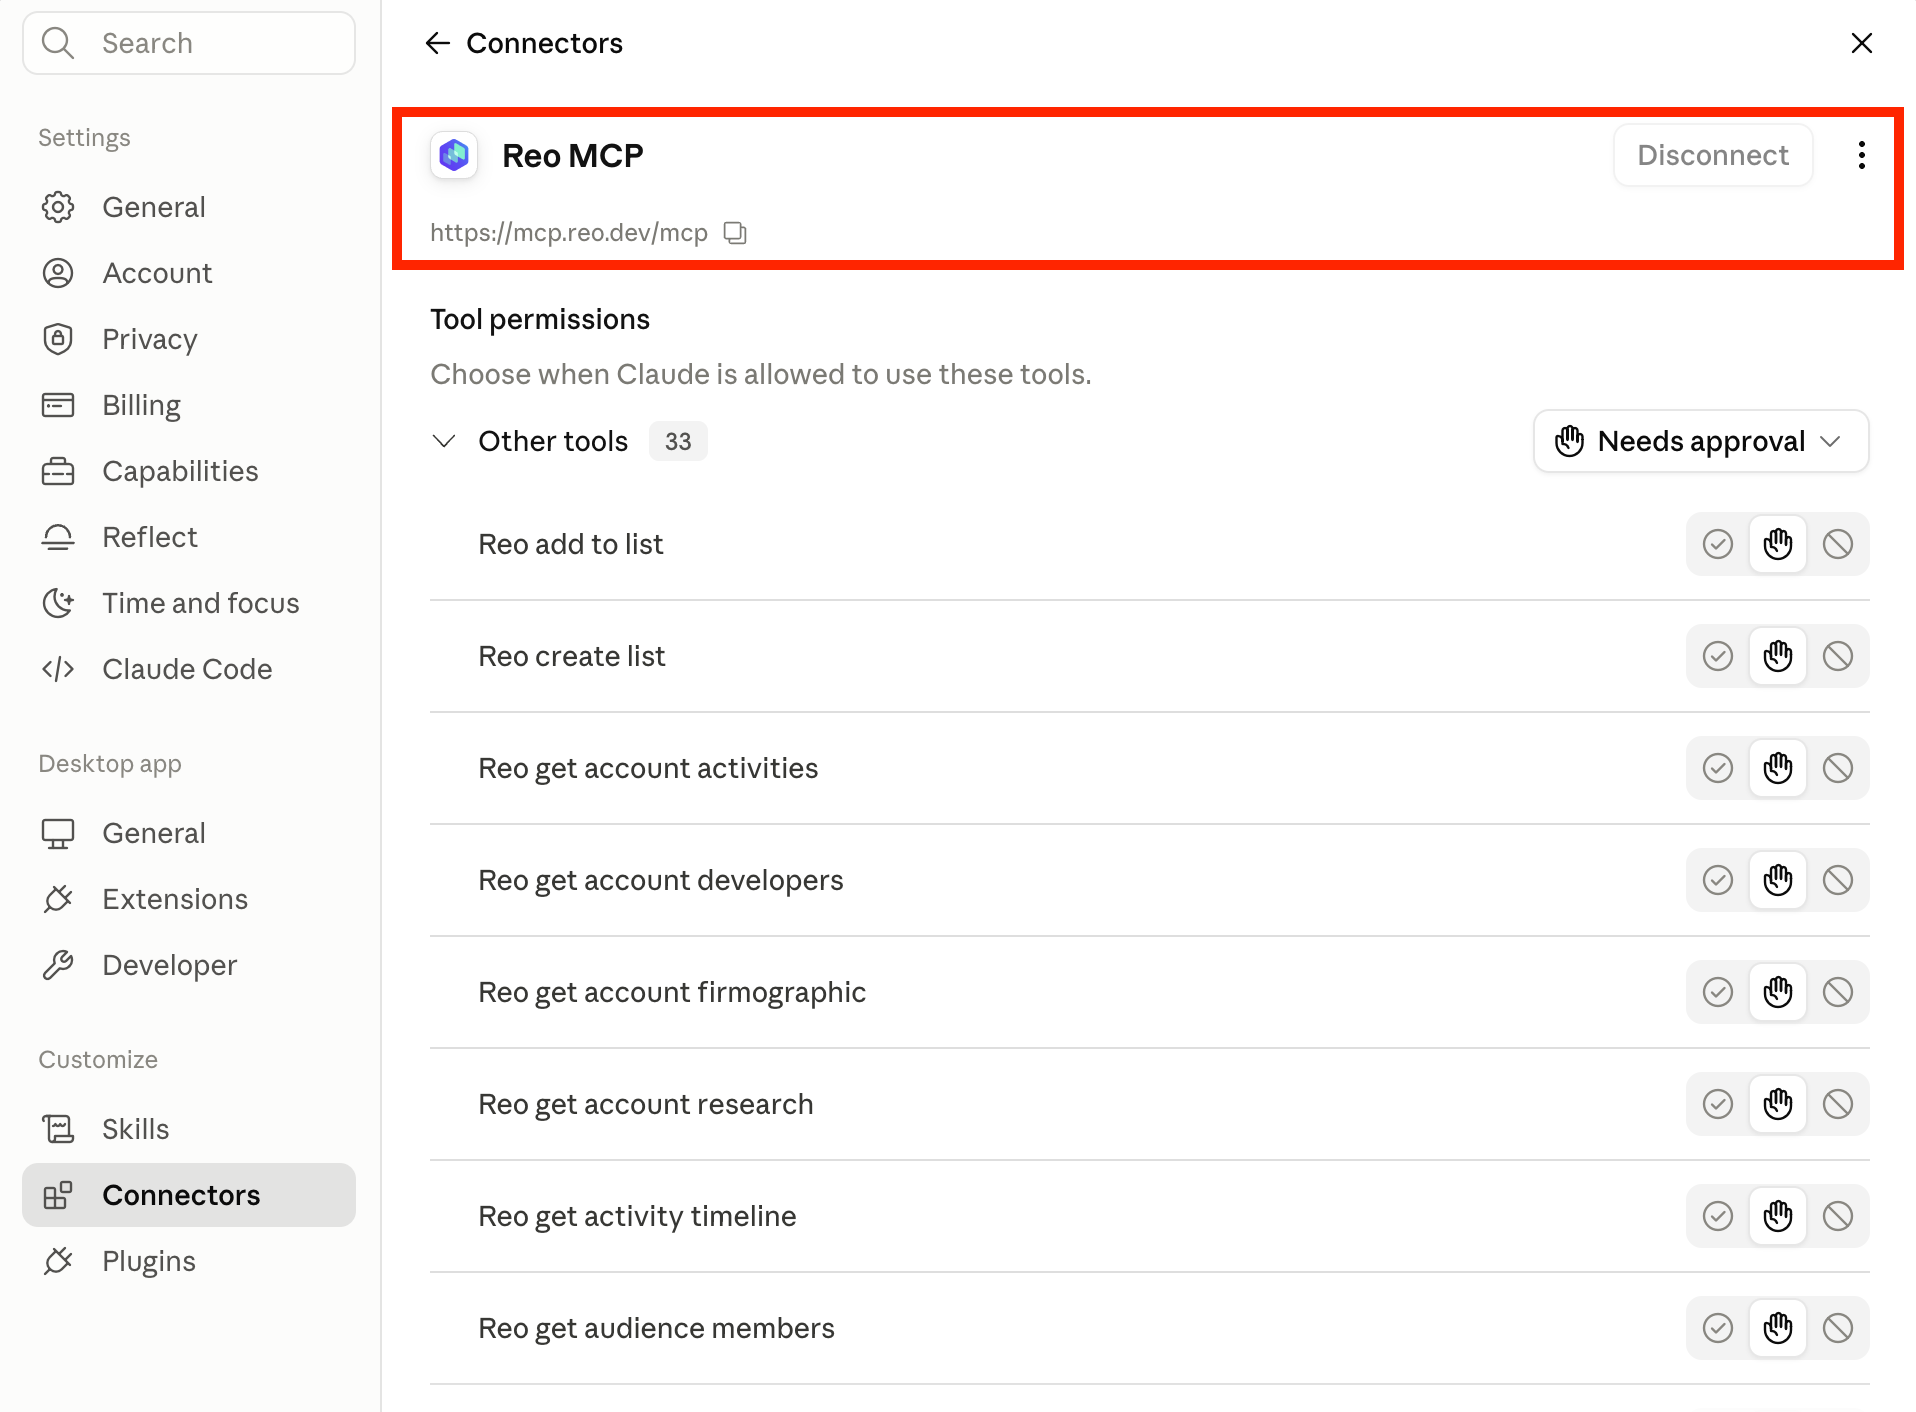
Once you log in, you'll land back in Claude. A success modal appears in the top-right. If you see a screen like the one below, you're all set ✅
- 8
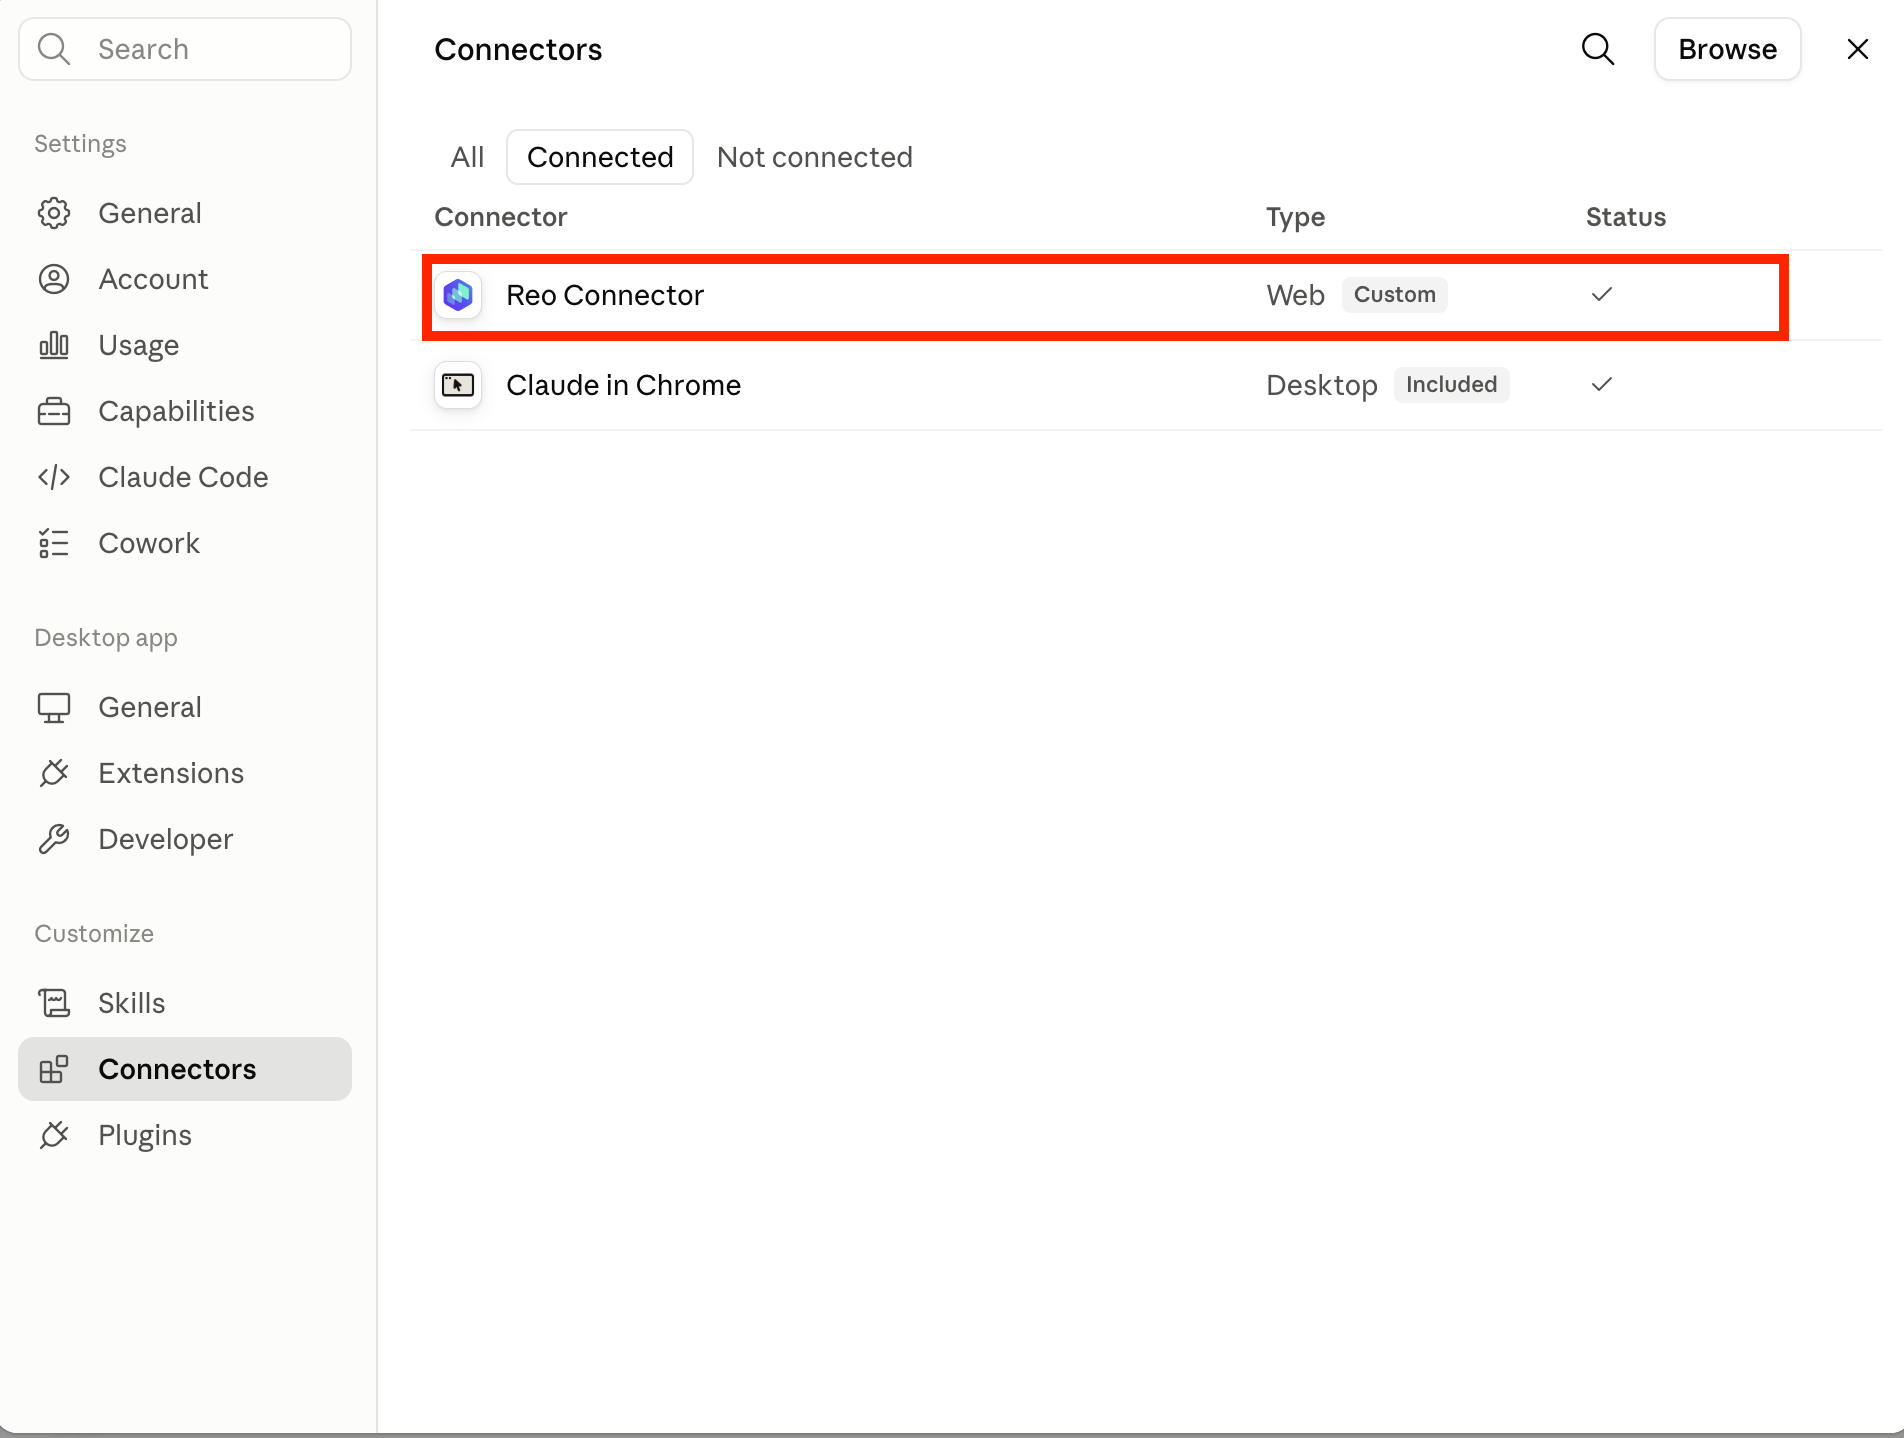
To verify the connection, navigate to Customize > Connectors and check the status indicator for Reo Connector.
Getting started with Reo MCP × Claude
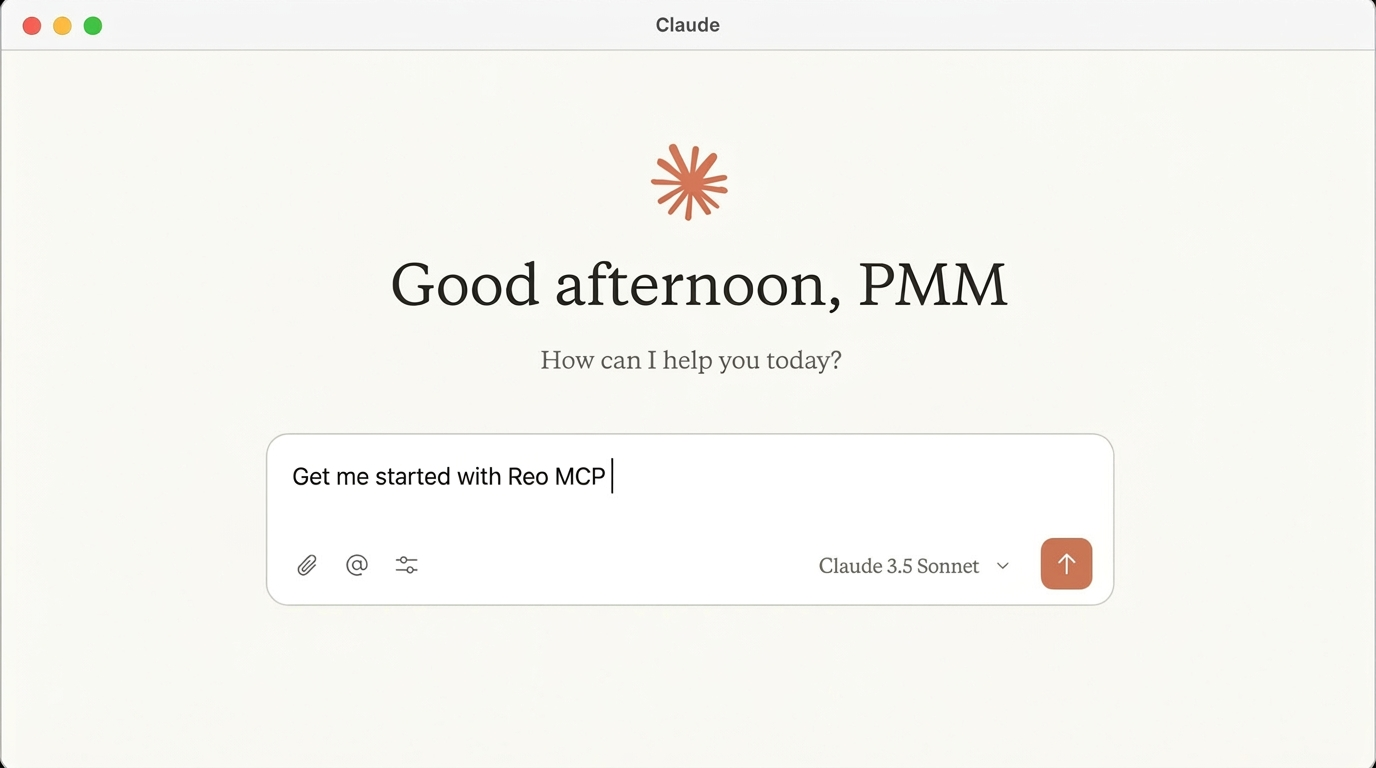
Once the connector is set up, open a new Claude chat and type:
Claude walks you through a short setup flow to personalize how Reo data works for you inside Claude. It takes a few minutes and you can skip any step.
Highest-value GTM workflows, as prompts & one-command skills
Prompt Guide 101
A curated set of prompts covering the 8 highest-leverage use cases. Copy, paste, customize for your workflow.
Account research and intelligence
Generate an account brief for [Company X]
Account prioritization
Give me the top 10 accounts I should reach out to today and why
Buyer discovery
Find the economic buyers at [Company X]
Personalized outreach messages
Draft a personalized outreach message for [Contact Name], [Title] at [Company X]
Meeting prep and sales call briefs
Prep me for a call with [Company X]
Map engineering org chart
Map the engineering org at [Company X] from leadership to ICs, grouped by sub teams
Competition displacement
Which accounts using [Competitor X] in [Segment A] are evaluating [Your Company]?
Identify at-risk accounts
Which engaged accounts in [Segment A] have seen a drop in activity recently?
Ready-to-use Claude Skills
Named skills and slash commands built around proven GTM workflows. Add a skill file once in Claude and it's live in your / menu instantly.
Do this once. Then use any of the skills below by typing their slash command.
- 1
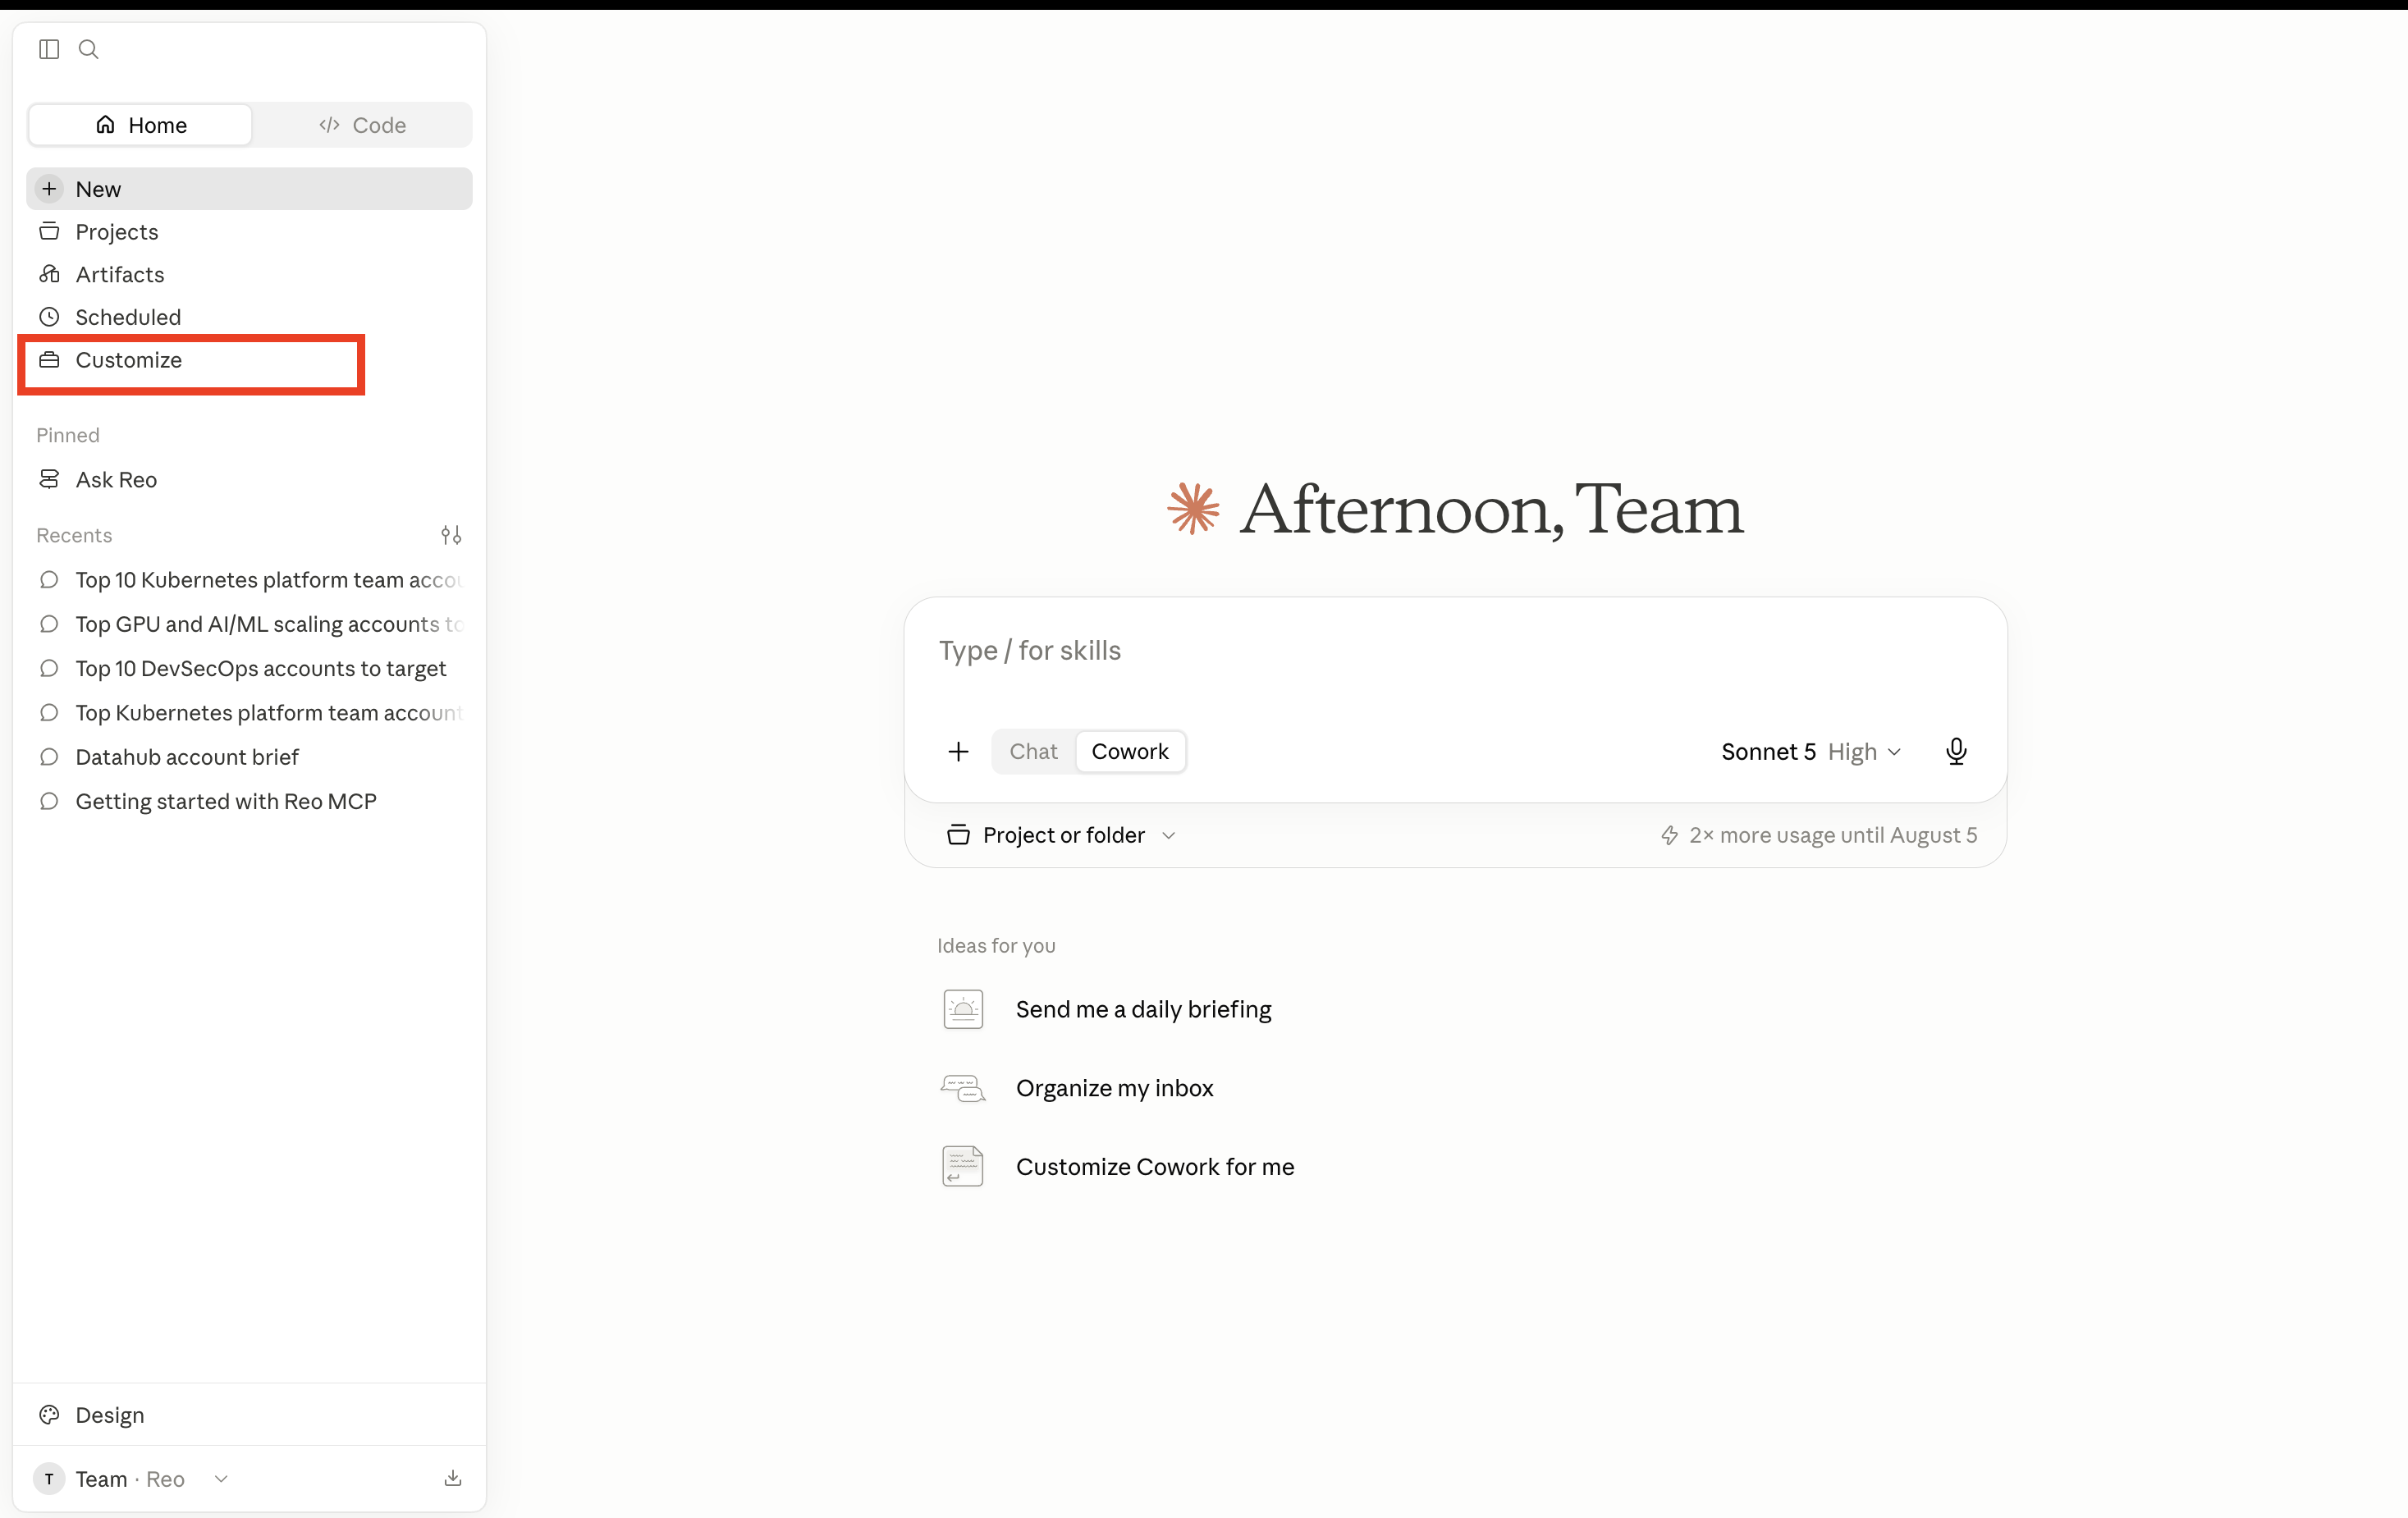
Open the Claude desktop app > from the left navigation menu > select Customize.
- 2
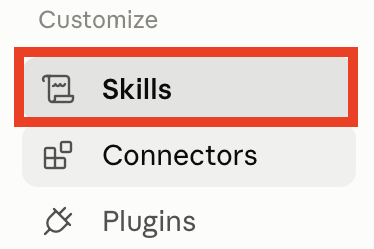
A pop-up modal will open up. Under Customize > select Skills.
- 3
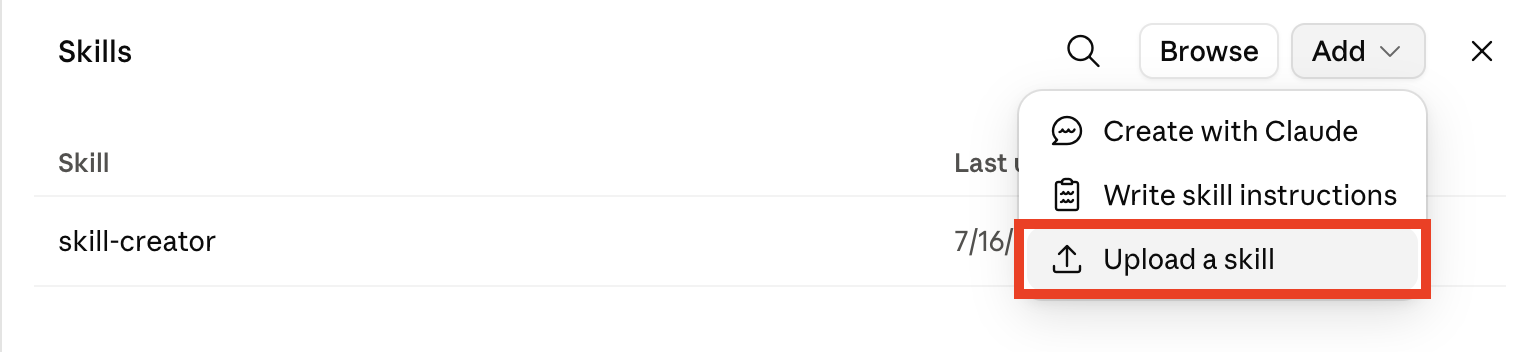
From the top-right corner > click Add > Upload a skill.
- 4
Upload the skill files we have shared, and you're all set.
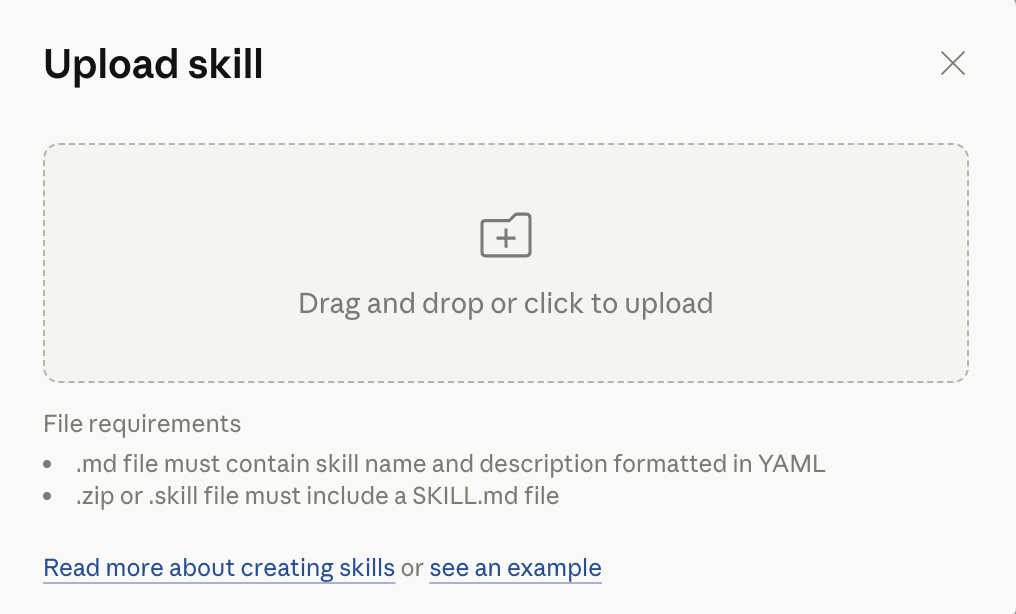
Once done, skills and commands are available immediately via the / slash menu.
Daily Account Prioritizer
Build a hot accounts list for daily outreach
Download skill fileAccount Research
Full account intelligence brief for any company
Download skill fileSales Call Prep
Turn your calendar into per-meeting prep cards
Download skill fileEngineering Org Chart
Visual org chart for any target account
Download skill fileBuyer Intelligence
Verified buyer emails for any account list
Download skill fileSee it in action
Customer plays worth replicating, plus the real workflows the Reo team runs every week with the connector.
Signal to Send in 60 seconds!
Ishrak Hossain · Member of GTM Staff · Unleash
The Morning Brew
Ryan Oster · Account Executive · Fiddler AI
Automatic Account Assignment
Reo.Dev team
Describe a GTM signal and build your account list
Reo.Dev team
Competitor Tracker
Reo.Dev team
Sales Intelligence Dashboard for Call Prep
Reo.Dev team
Find the right buyers for your target accounts
Reo.Dev team
Common issues, quick fixes
Can you add custom connectors on a free Claude plan?+
My connection isn't working. What should I do?+
How to enable custom connector for your team?+
If you're on a Team or Enterprise plan and still can't access connectors, it may be because an Owner or Primary Owner hasn't enabled them for your organization yet. Enabling a connector makes it available to your team, but it doesn't automatically grant anyone access. Each person still needs to authenticate individually before they can use it.
- Navigate to Organization settings > Connectors
- Under connectors, click on Add > Custom
- Enter the name and the following remote URL
https://mcp.reo.dev/mcp
Then, click on Add.
Note: To complete this step, it is mandatory that every user must have logged out of Reo account.
- Go to Settings > Connectors
- Locate the Reo Connector > Click on Connect
- Complete the authentication flow
Note: Custom connector tool access is controlled at the organization level. If the org owner has set access to "Needs approval," individual members cannot change it to "Always allow" from their own accounts. The "Always allow" permission can only be enabled by the org owner.
Don't take our word for it.
See what our customers have to say.
I gave Claude direct access to our Reo signals, and it now runs my whole SDR morning in under a minute: finding surging accounts, picking the best contact, and drafting outreach that references real behavior.
Every morning, Claude scans my territory for accounts with real activity, site visits, CLI installs, GitHub, LinkedIn, and surfaces the buyers and developers behind it. I get signals, contacts, and one-click outreach in a single view.